Recording Your Virtual Presentation – Not on Zoom
It’s easy these days when you need to pre-record a talk for a virtual event to turn on zoom, hit record, share your slides and talk over them.
But think about the end result. All you are doing is talking over slides through your computer audio, which is really quite substandard.
As coaches that desire a higher quality for our (now virtual) speakers and those audiences they are addressing, we’ve got a great step by step case study of how to do better for about $100.
Ingredients you need (equipment):
- A phone with a video function – any phone less than 3 years old has a decent video camera. (Look in your pocket?)
- A lavalier microphone – We love this one for recording off your phone. Make sure to get the one that fits your phone – iPhone or Android – or buy a separate connector dongle to fit. ($40)
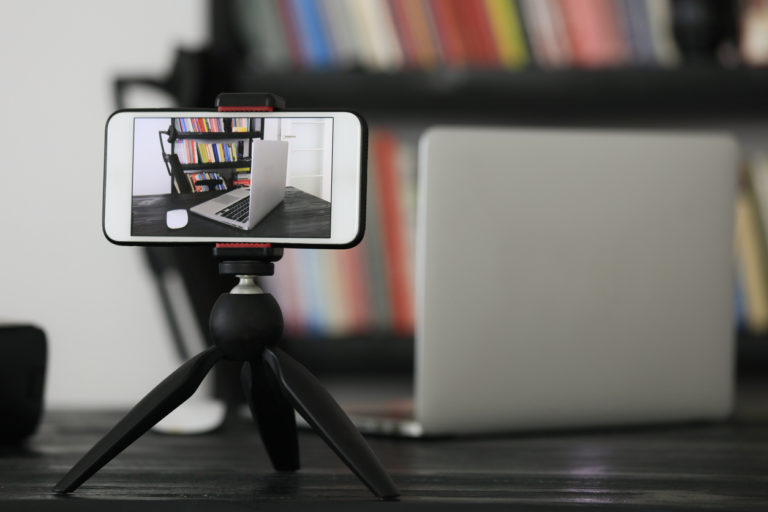
- A stabilizing tripod – and with a halo light if you need one. This works great for about $25. If you don’t need the halo light, then get the tripod alone ($15).
- PowerPoint or Keynote – Whatever is loaded into your system. Create your slides with virtual delivery in mind. Absolutely no bullet points, big font, full screen images, and create narration cues inside your talking points to tell people to return to the screen (hello dozens of distractions when watching online).
- Either a video editor or video editing software – DO NOT LET THIS DETER YOU. The software editing options, especially for free, are abundant. I’m a Mac user so I use iMovie, but here’s a list of reviews of free options (as of November 2020). We have a friend who also edits for us at about $60/hour when we don’t want to do it ourselves.
A Case Study: How It Looks in Real Life
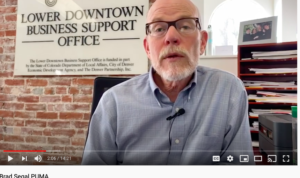
So now that you have the ingredients, let’s use this video from an event yesterday as a case study.
Brad used to record onto zoom and talk over his slides. His face used to appear in the tiny thumbnail window and no one could really see him.
Instead he did this:
- Connected his phone to the microphone. You can tell his sound quality is far greater than if he would have recorded to his computer.
- Put his phone on a tripod (with the camera facing him – NOT on selfie mode).
- Made sure he had good lighting. His office had some good natural light so he didn’t need a halo light, but you may.
- Opened his computer with his slides in front of him right next to his tripod.
- Recorded his talk, still clicking through slides, but focused on talking to the camera.
- Sent us his recording (14 minutes) with his slide deck (20 minutes) both via Dropbox – and our editor simply edited it by sliding his images in when he referred to them. Our editor took about an hour to merge the two together. If you don’t have a person to assist you, try out one of the free software options above.

Brad could have stood up, but he chose to sit down, which I think is in concert with the casual nature of the event. It was meant to be very conversational. If he had stood up, it might have been a little more obvious that he was moving to change his slides. In that case, I might have recommended he take this extra step:
After recording the talk direct to camera (without advancing slides like he did), take the slides and produce a handout (print them out) of six slides to a page. Make notations on the handout where you would want the slides to appear and disappear along the continuum of the talk.
OR
Send your video recording up to www.temi.com. Within a few minutes (at .25 cents a minute ) you can have a transcription of your talk. Use that version to notate where a slide should appear and disappear for your editor. You could even insert screen shots of your slides in the transcription document.
We hope this provides you a suitable alternative to talking over your slides in zoom. While that may be easy, it is not likely to produce the quality you or your audiences desire.
Looking for more tips? Check out our Being a Speaker in a Virtual World playbook and webinar. Both these resources are free.


